MailerPress allows you to send your latest published posts in an automatically generated newsletter, sent at a frequency you define.
Creating the Automated Campaign
The first step is to create a campaign in MailerPress.
Choose a template and build your newsletter as you normally would.
From the block list, select the “Query” block to dynamically display your latest posts.
In the right-hand panel, you can build your query by choosing:
- the post type,
- the taxonomies,
- the authors,
- the order,
- number of posts,
- and more.
It’s also possible to build a manual query by directly entering the desired post ID.
Adjust the layout and appearance using the dedicated sections such as Dimensions and Styles.

Customizing the Post Template
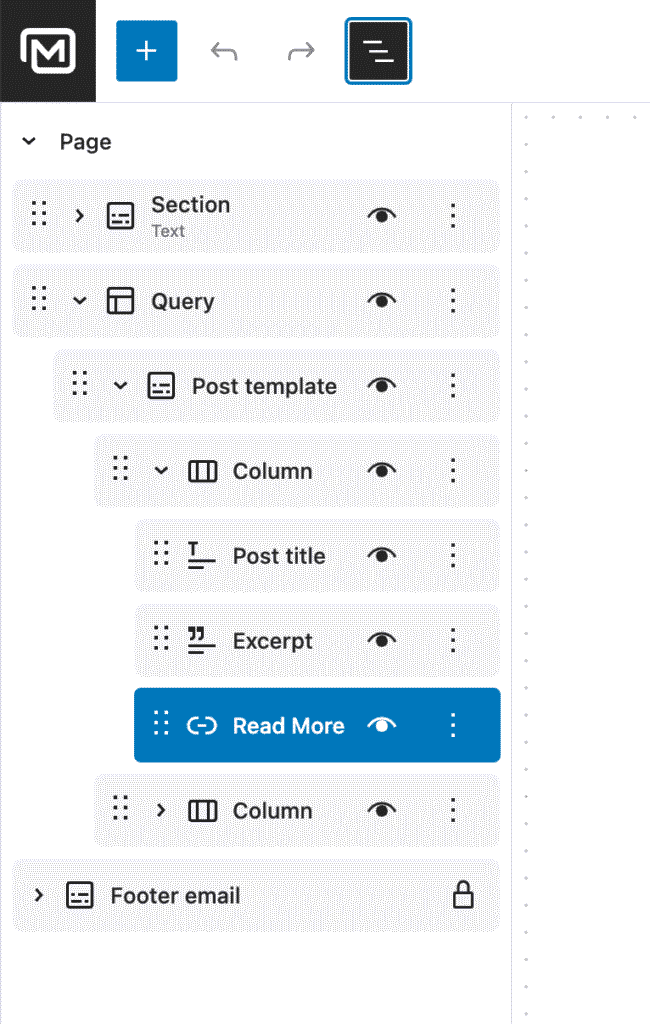
By default, your post template includes a title, an excerpt, and a “Read More” link.
From the tree view on the left, accessible via the dedicated toolbar icon, you can rearrange the order of blocks or remove them.
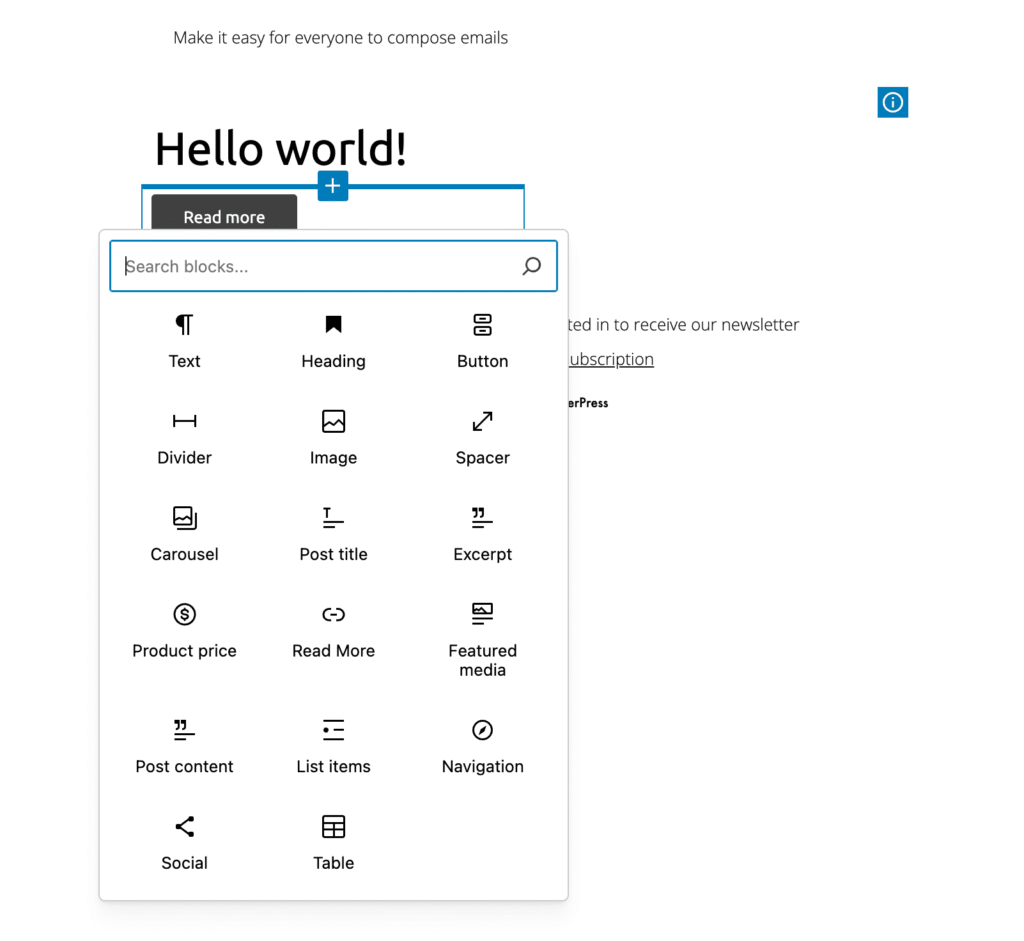
If you’d like to add new elements—such as a featured image, full post content, or the price of a WooCommerce product—place your cursor in the canvas where you want the element to appear. The plus icon will appear; click it and select the desired block from the modal.
Scheduling the Automated Send
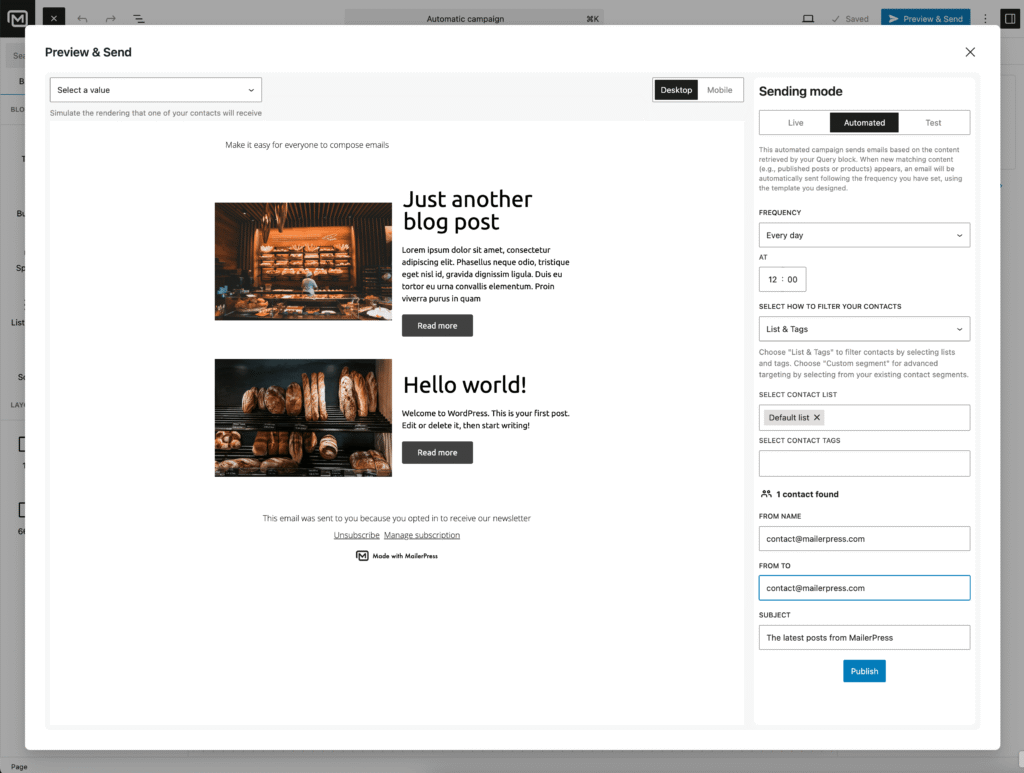
Once you are satisfied with your newsletter, click the Preview & Send button and go to the Automated tab.
Select a sending frequency:
- daily,
- weekly,
- or monthly
And choose a time.
Next, select the lists and segments you want to target, along with any additional configuration options.
Finally, click Publish.
You will then be redirected to the campaign overview screen.
MailerPress automatically checks for newly published posts and triggers the newsletter only when new content is found.