A contact is an individual in your email list who has given permission to receive your emails. Each contact typically includes an email address, and can also have additional details like their name, email, or preferences. In MailerPress, contacts are the people you communicate with—whether you’re sending newsletters, promotions, or automated follow-ups.
Managing your contacts properly helps you build trust, stay compliant, and deliver more relevant content to your audience.
With MailerPress, you can store unlimited contacts.
Add a contact
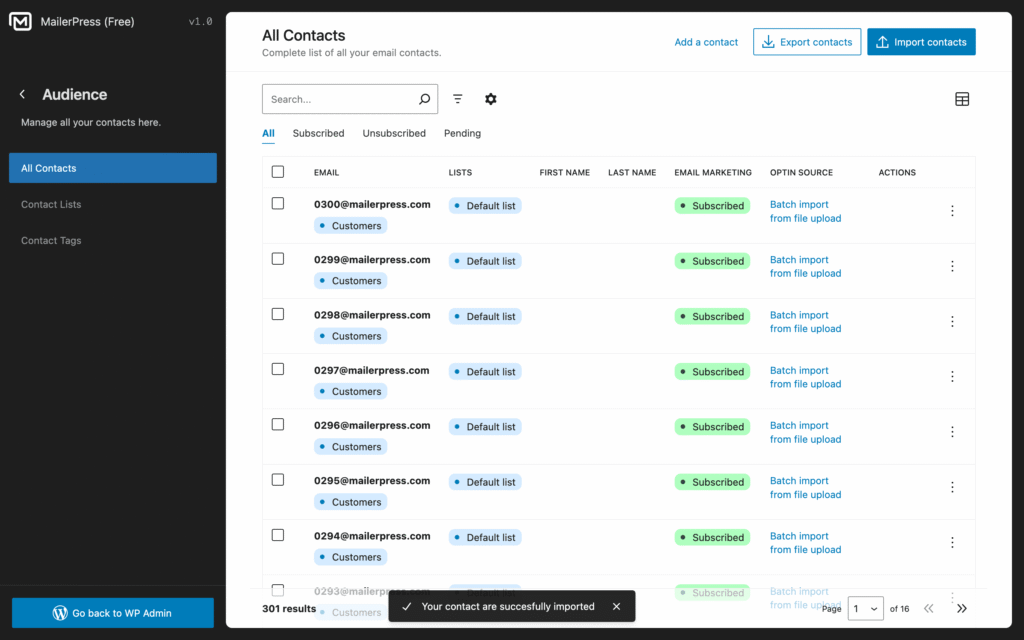
To add a single contact, go to your WordPress administration, MailerPress, Audience, and click Add a contact button.
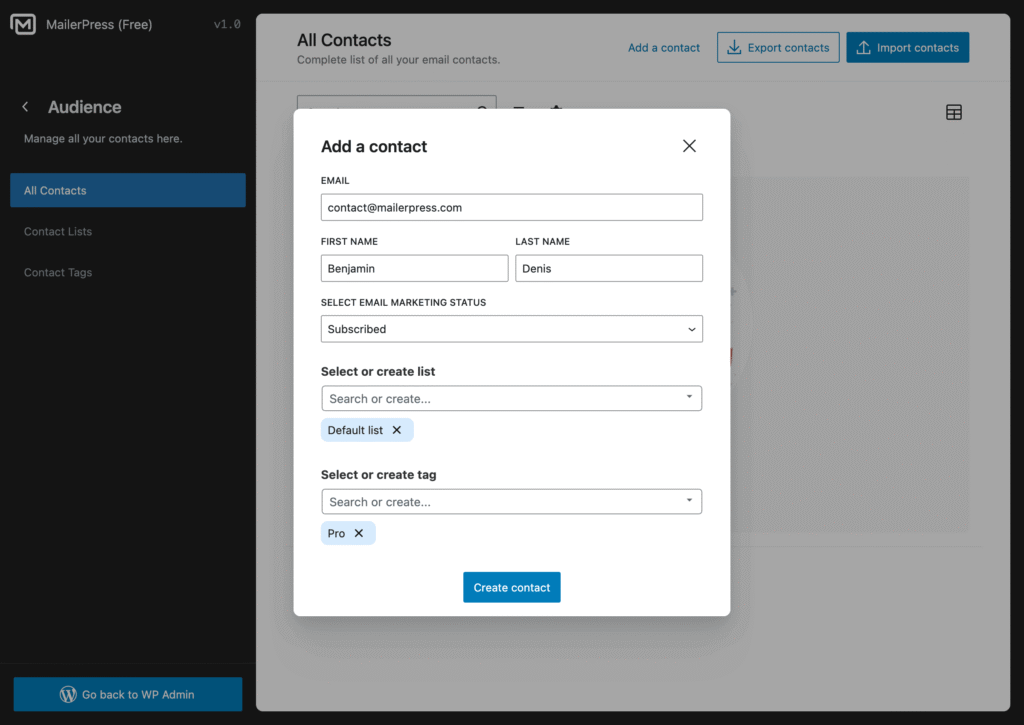
Fill in the fields of the addition form:
- first name
- last name
- status: subscribed, unsubscribed, pending
- list: select or create a new one
- tags: select or create new ones
Finally, click Create contact button.
Edit a contact
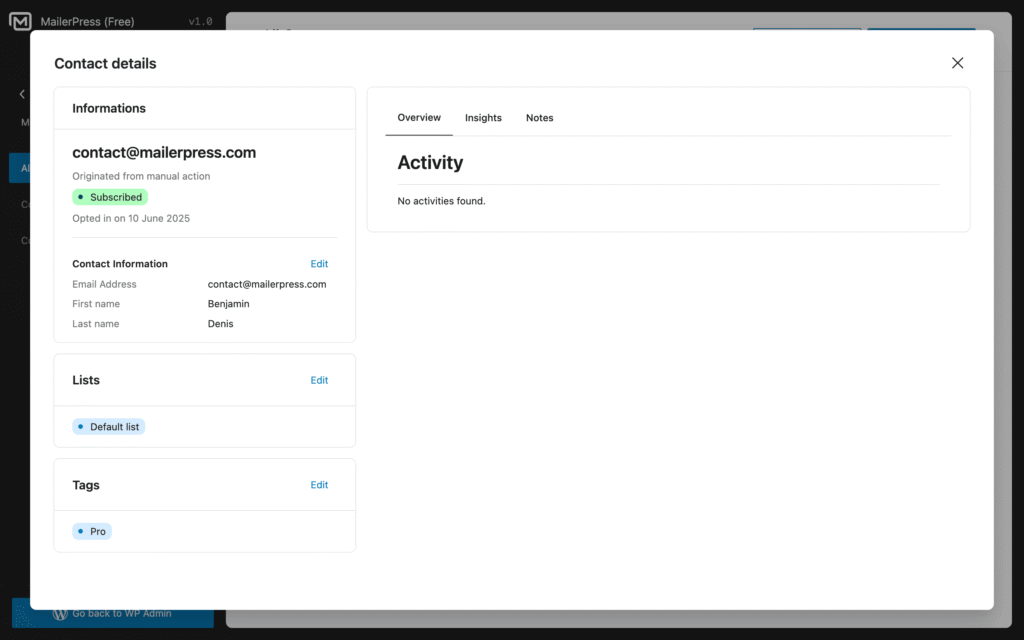
From the Audience page, click on the dropdown icon located in the Actions column, and select Edit.
A window will appear with the contact details.
Click the Edit link next to each item you want to modify.
Update the informations and click Save.
Delete a contact
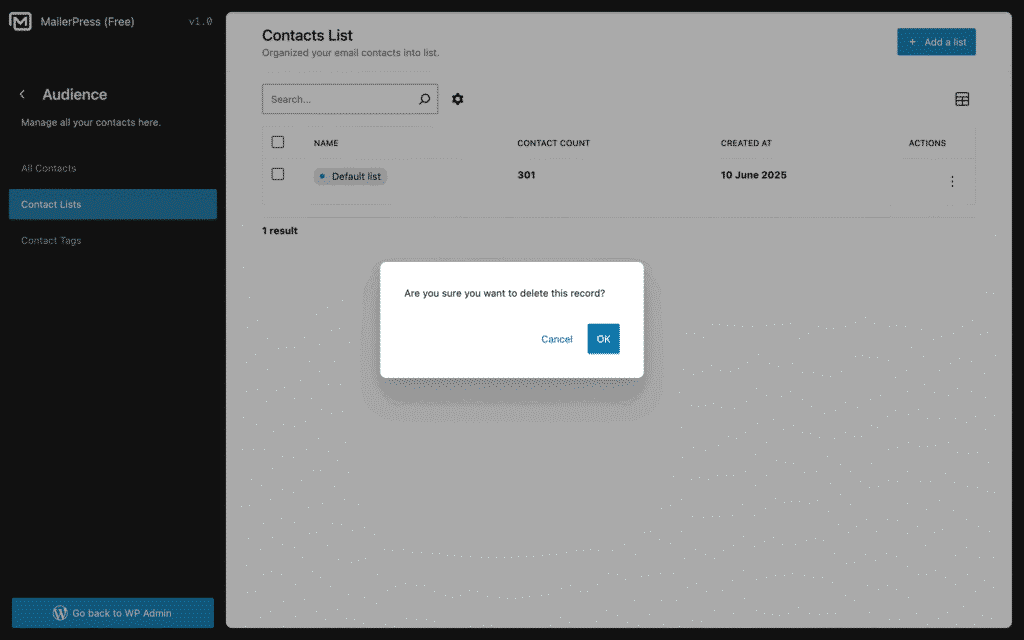
From the Audience page, click on the dropdown icon located in the Actions column, and select Delete.
To delete multiple contacts at once, select the contacts to delete, then from the bulk actions list located just above the table contacts, choose Delete.
Import contacts
Still from the Audience page, click the Import contacts button to run our wizard import tool.
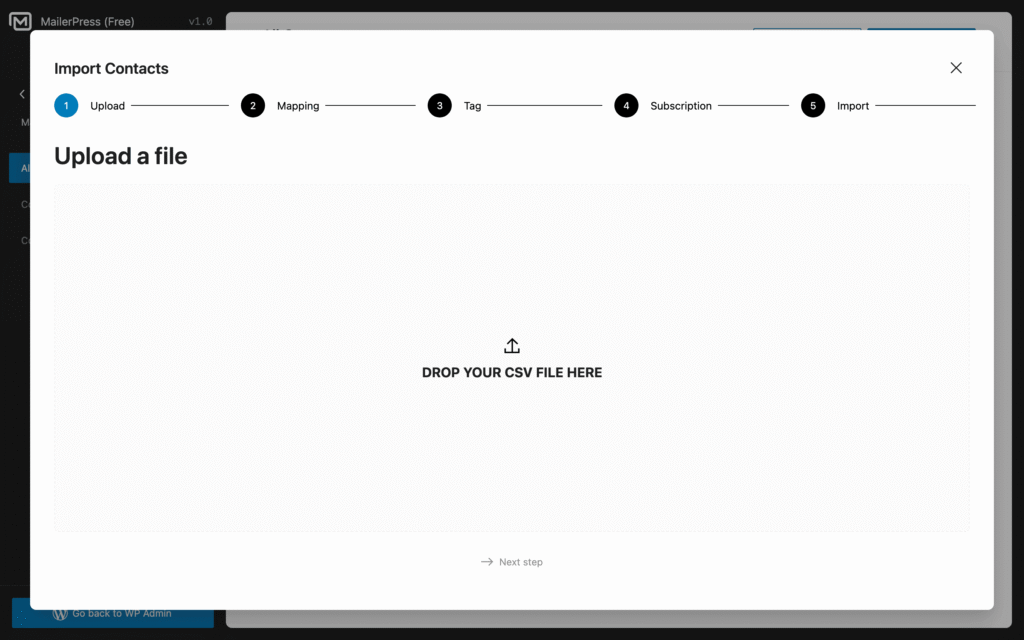
Step 1: Upload
Drag and drop your CSV file generated by your email sender, or your favorite spreadsheet like Google Sheets / Excel.
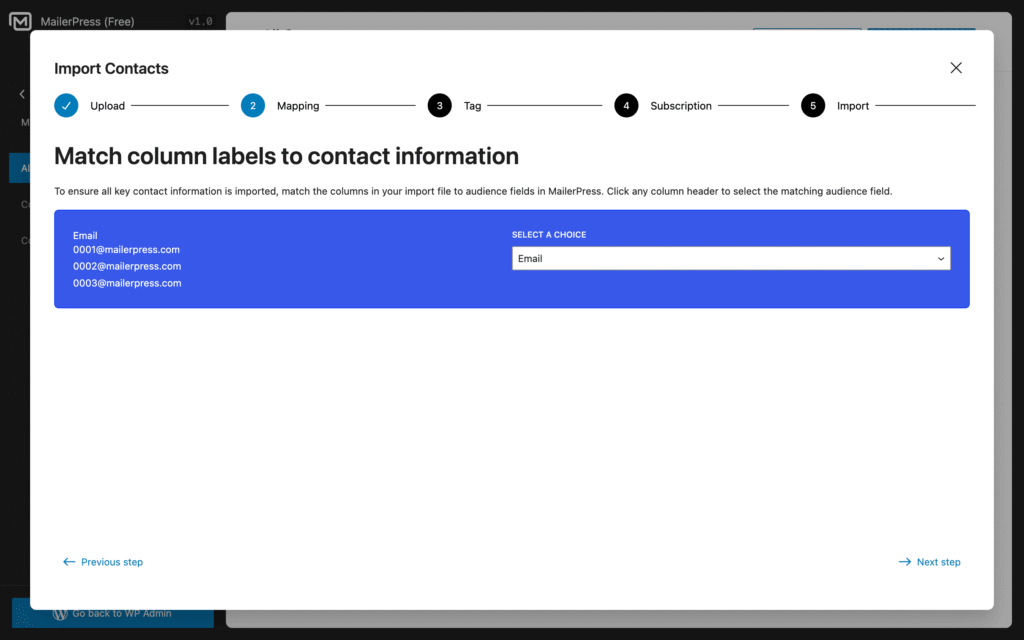
Step 2: Mapping
Map the columns between your CSV file and MailerPress.
Then click Next step link.
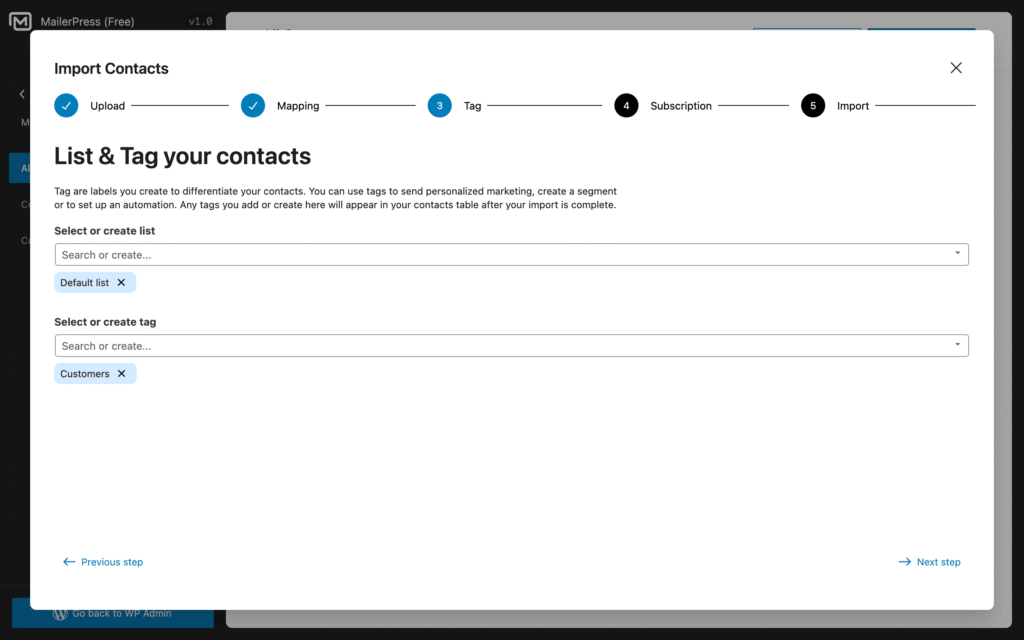
Step 3: Tagging
Select a list to import your contacts. Or create a new one and assign it.
Do the same with Tags if necessary.
Tag are labels you create to differentiate your contacts. You can use tags to send personalized marketing, create a segment or to set up an automation.
Then click Next step link.
Step 4: Subscription
Select the status each contact will have:
- subscribed
- unsubscribed
- pending
Only new contacts will have the status updated.
Then click Next step link.

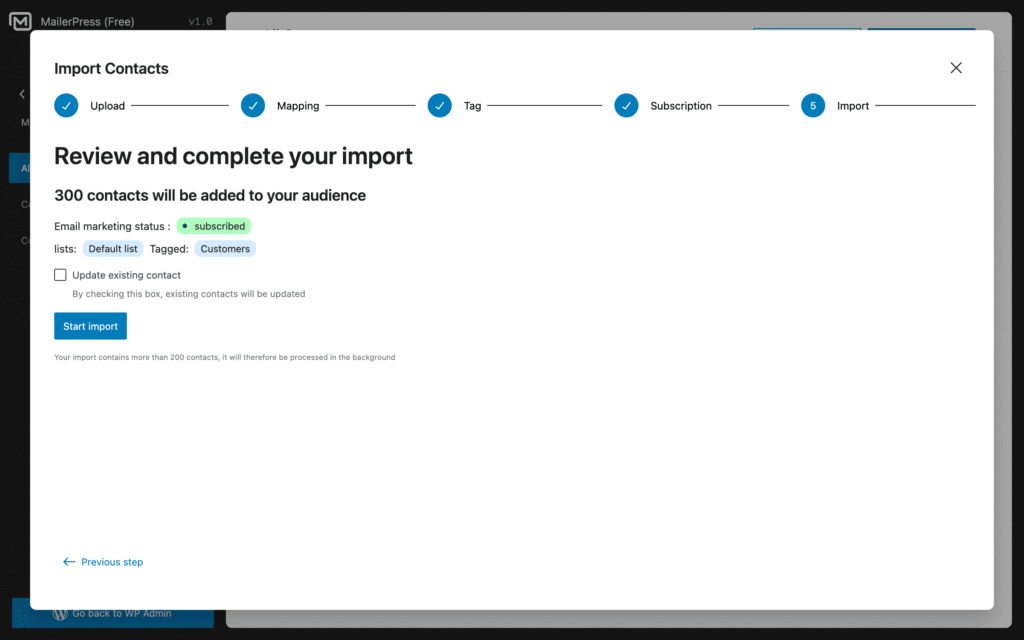
Step 5: Import
The final step before running the import.
You can decide to update existing contacts by checking the dedicated checkbox if necessary.
Then click to Start import button to run the import.
You will be redirected to the Audience page.
The import will run in the background.
You will receive an email once done.
Export contacts
From the Audience page, click the Export contacts button.
Enter an email to receive the link to download your CSV export file.
Then click Confirm Export.