An email campaign is a message or series of messages you send to your contacts with a specific goal—like promoting a product, sharing news, or nurturing leads.
In MailerPress, creating a campaign means choosing your audience, designing your email, and scheduling when it goes out. Whether it’s a one-time announcement or part of a larger marketing strategy, email campaigns are a powerful way to connect with your audience and drive results.
Step 1: create your campaign
Sign in to your WordPress administration, then go to MailerPress dashboard page.
Click the Create Campaign button.
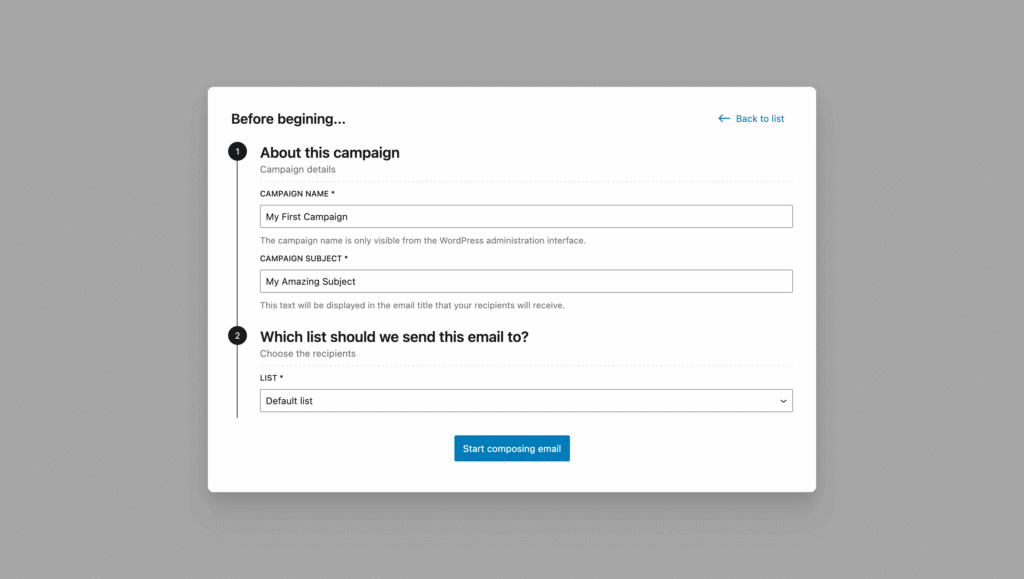
A new modal appears to initialize your email campaign.
You can choose to start from a new draft, or re-use a previous campaign.
In our example, we’ll opt for a new draft.
Enter from the form:
- a campaign name: will be visible only from MailerPress, Campaigns page.
- a campaign subject: this is what recipients will see in their inbox.
- a list: which recipients will receive the emailing.
Finally, click Start composing email button.
Step 2: choose a template
Our powerful editor lets you create stunning emails with ease.
To speed up the process, you can start with a blank email by choosing from six different layouts — or use a preset template.
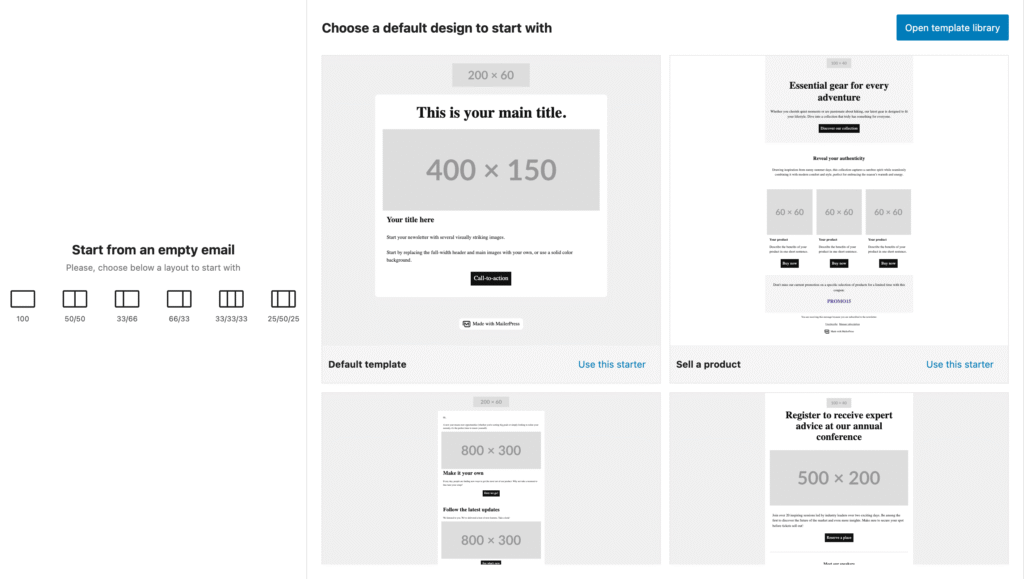
Using MailerPress Pro? Unlock access to premium templates by clicking the Open Template Library button.
Step 3: design your email campaign
To build your email, simply click the plus “+” icon in the top-left corner, choose a block, and drag it into the center of your screen.

Once you’re done designing your email, click Review & send button to move on to the next step.
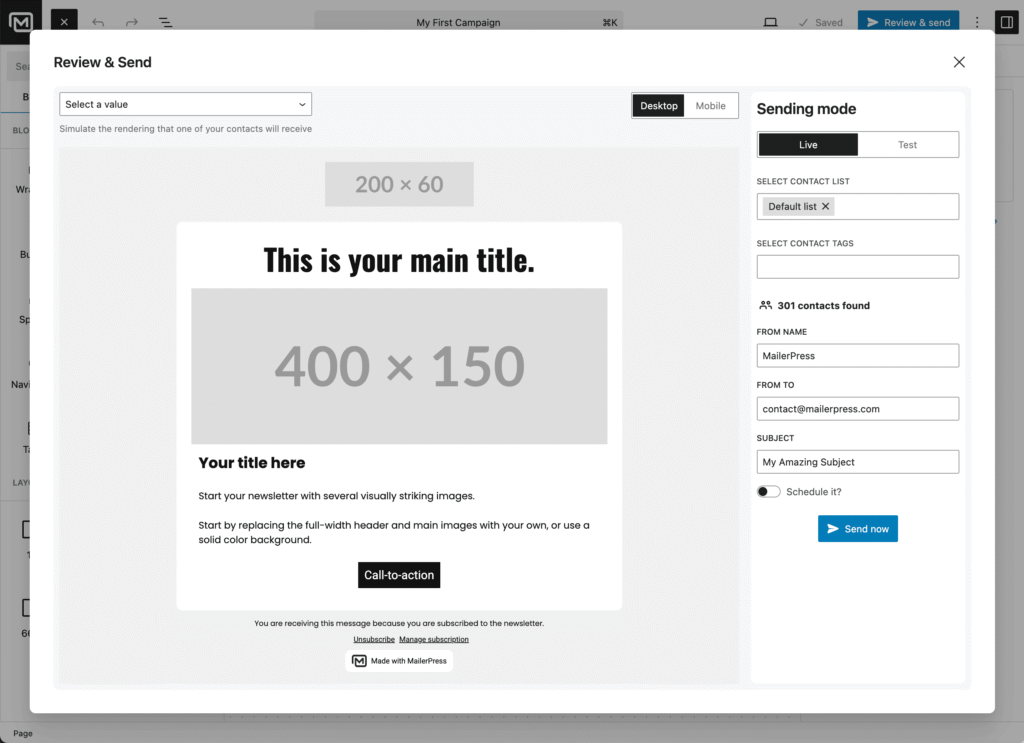
Step 4: send your email
TThis is the final step before your email reaches your recipients.
Ensure your email design looks and functions as expected. Use the dedicated icon to switch between desktop and mobile views.
Under the Test tab, enter an email address and click Send a test to preview your campaign in different inboxes, apps, and webmail clients.
Using merge tags? Simulate how they appear with real data by selecting a recipient from the dropdown in the top-left corner of the modal.
Next, review the details in the right-hand panel:
- Selected contact list
- Applied contact tags
- Sender name
- Sender email address
- Email subject line
Once everything looks good, click Send now to send your campaign immediately.
Or, enable the Schedule it? toggle, choose a date and time, then click Schedule sending to plan your delivery.
You will be redirected to the Campaigns screen, where you can track the status of your campaign.
Once sent, performance statistics will also be displayed.